An Overview of the Renewal Process
Renewals are a regular part of the TLS/SSL lifecycle. Once your certificate expires, and there’s no time left on your order, you’ll need to purchase a renewal certificate to replace it.
By default, we send out renewal reminders before the order is set to expire, so that you can easily begin the renewal process. You can also opt in to automatic renewal or purchase full automation to make the process completely hands-free (for eligible products and web servers).
- Automatic renewal– if you have opted in for AutoRenew, we’ll use your card on file to place the renewal order when the time comes. We’ll even generate the certificate for you using the previous CSR, if available.
- AutoRenew plus AutoInstall SSL goes through the entire certificate replacement process, including domain validation and certificate installation.
- Manual renewal – You can also renew the old-fashioned way by manually purchasing and enrolling your certificate. You’ll also need to complete validation and install the new certificate file by hand.
You can opt-in to AutoRenew during order enrollment OR on your Renewal Notifications Settings on your account dashboard.
How to Manual Renew Your SSL
Renewing a certificate follows the same process as placing a brand new order.
1. Buy the certificate you need.
- You can either purchase from a renewal reminder email, using the Renew button on your order dashboard, or just buying the product you want straight from the store.
- If you plan to roll over unused time, you’ll need to buy the same product as before. Otherwise, you’re welcome to switch to any product and start over (no time added).
2. Complete enrollment.
- Fill out the enrollment form. You'll need your CSR - either the same one from the previous order (if you still have the necessary private key) or you can create a new one with your web server, hosting provider, or using an online generator.
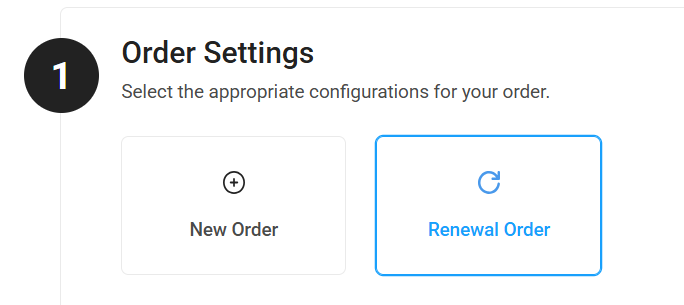
- Make sure to select Renewal Order on the page where you upload your CSR so that you can roll over any unused time from the previous order.
3. Complete validation.
- You can select your preferred domain validation method during enrollment, then follow the instructions after submitting the order.
- If your certificate requires Organization Validation (or Extended Validation) you may be required to undergo the full process with the Certificate Authority. Check your order dashboard for details and look out for emails from the CA with more info.
4. Install your new certificate.
- Once validation is complete and the certificate is issued, you’ll receive the new certificate files. You must install the new files on your server to replace the expired certificate.
How Renewal Time Works With Shortened Certificate Lifecycles
In the past, you were able to renew your certificate up to 30 days before expiration. Any unused time from the old certificate would be added to the new certificate.
Now that SSL certificates are getting shorter, there is a hard limit on how long one certificate can be valid. If you renew your certificate early, the extra time will be added to your next order, not to the certificate itself.
You MUST select “Renewal Order” during enrollment to take advantage of any unused certificate time.